To begin using FreeFlyer, you must first register your license. Once you have registered your license, we recommend that you get to know FreeFlyer in the following way:
1.Run the Demonstration Mission Plans on the Home Screen 2.Go through the Video Tutorials on the Home Screen 3.Go to Open à Browse Sample Mission Plans and open some of the included samples 4.Use a Mission Plan Wizard to create a simple propagation or coverage Mission Plan 5.Create a New Mission Plan 6.Look over the rest of the Help File, especially the Guides section |
For a quick start, here are some simple steps to create a new Mission Plan:
Create Mission Plan and Edit Spacecraft
•Open FreeFlyer •Go to File à New Mission Plan •In the Object Browser, Click Add à Spacecraft •Double-click on the Spacecraft to Open •Change Element Type to “Keplerian” and enter your desired orbit •Click on “Attitude” (on the left hand side of the Spacecraft object browser) and change the “System” to Spinner. Enter your desired Spin Rate. •Click “Ok” |
Create and Edit GroundStation
•In the Object Browser, Click Add à GroundStation •Double-click on the GroundStation to Open •Click “Station Geodetics File” and choose a GroundStation from the list •Click “Ok” |
Create and Edit Output View
•In the Object Browser Click Add à Output à ViewWindow •Double-click on the ViewWindow to Open •Check the boxes for Spacecraft1 and GroundStation1 •Click on Spacecraft and Check “Show Axes” •Click “Ok” |
Create a Mission Sequence
•Drag a “While” command from the “Script Elements” window into your Mission Sequence •Drag a “Step” command into the While loop (place it between the While and the End) •Drag an “Update” command into the While loop •Save your Mission Plan and Run |

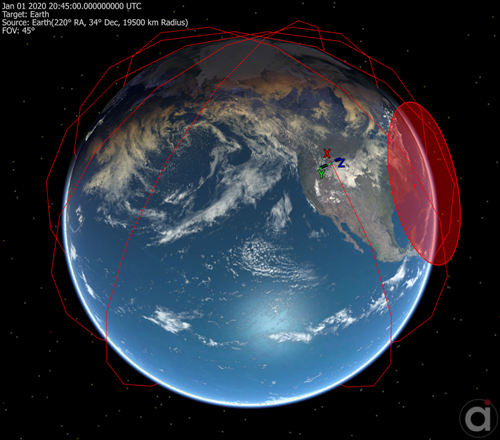
Output View of GroundStation and Spacecraft with Axes
Replay the Mission Plan
•After the Mission Plan has finished running, experiment with the replay toolbar at the top right corner of the Workspace to examine different parts of the simulation |
![]()
Now you have an easy sample to get started with. You can also add a “FreeForm” script block above the Step command in the Mission Sequence. By looking through the Sample Mission Plans and the rest of the Help File, you will see examples of how to use FreeForm scripting.
Getting Help with FreeFlyer
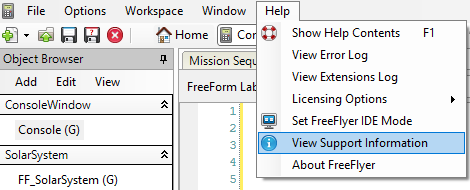
The View Support Information button under the Help tab of the Menu Bar offers a plethora of information.

View Support Information
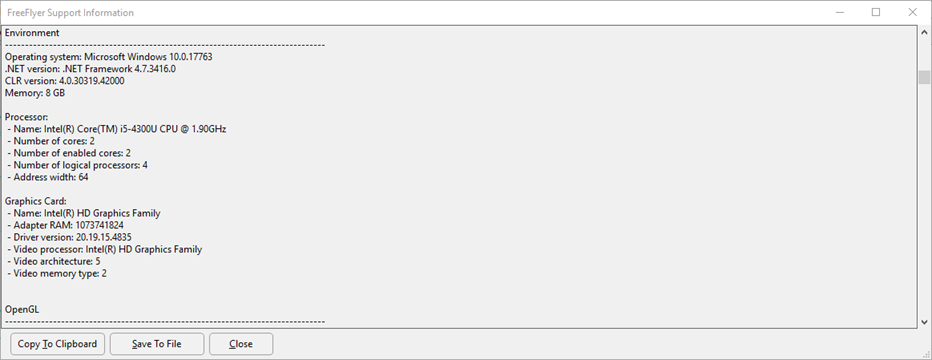
The View Support Information button offers information on:
•FreeFlyer Version and Build number •FreeFlyer License oLicense Type oLicense Tier oLicense File Contents •Installation oLocation of current Mission Plan on local machine •Current Mission Plan oPath to current Mission Plan oTime precision mode •Environment oOperating System oProcessor oGraphics Card details •OpenGL oVendor oRenderer oSupported GL Extensions oSupported Platform Extensions •Extensions Log •Error Log oFreeFlyer Error Reports |

FreeFlyer Support Information
When contacting the technical support team always include the information given in the View Support Information button to help our team assess your question.