The View Output Properties interface allows you to modify how objects in a Mission View are displayed, and modify the Viewpoints contained in the Mission View, through the FreeFlyer output screen. A subset of controls is displayed in the output properties tab at the right of the output screen. You can open the full View Output Properties menu by right-clicking in any Mission View and selecting "Open Properties Editor," or by clicking the "All Output Properties..." button at the top of the output properties tab at the right of the output screen.
The View Output Properties editor is divided into three pages, described below: Viewpoints, Objects, and Global settings.
Viewpoints
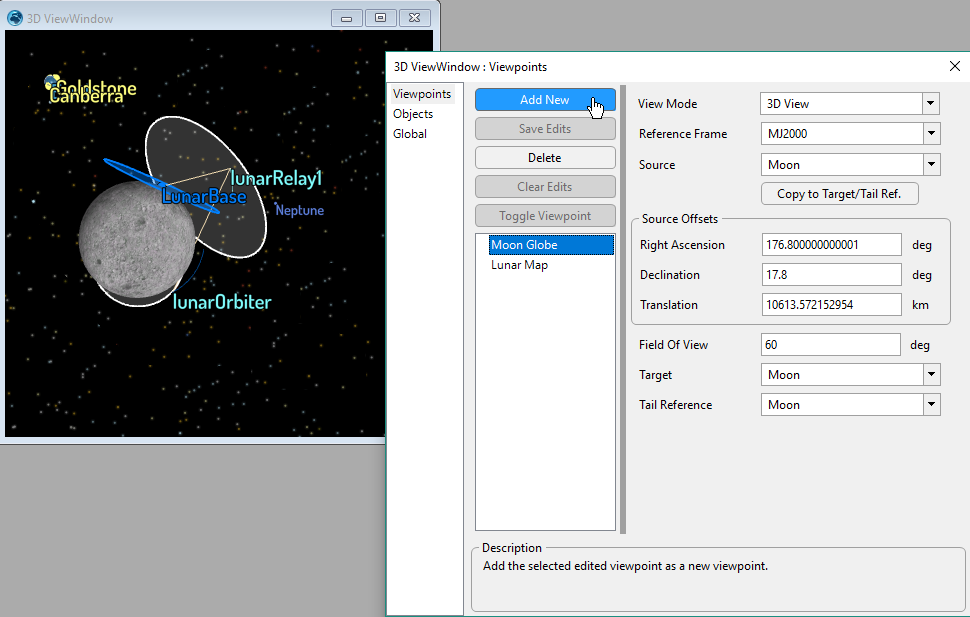
The Viewpoints page allows you to modify the settings for any Viewpoint in the Mission View. You can also save or clear those edits, and add or delete Viewpoints. Simply select a Viewpoint in the list to activate it. Any changes that you make to the Viewpoints in this Output Properties editor will also be reflected in the Output Properties tab shown on the right-hand side of the output screen. You can use the toggle button to switch quickly between the two most recently activated Viewpoints.

View Output Properties - Viewpoints page
Objects
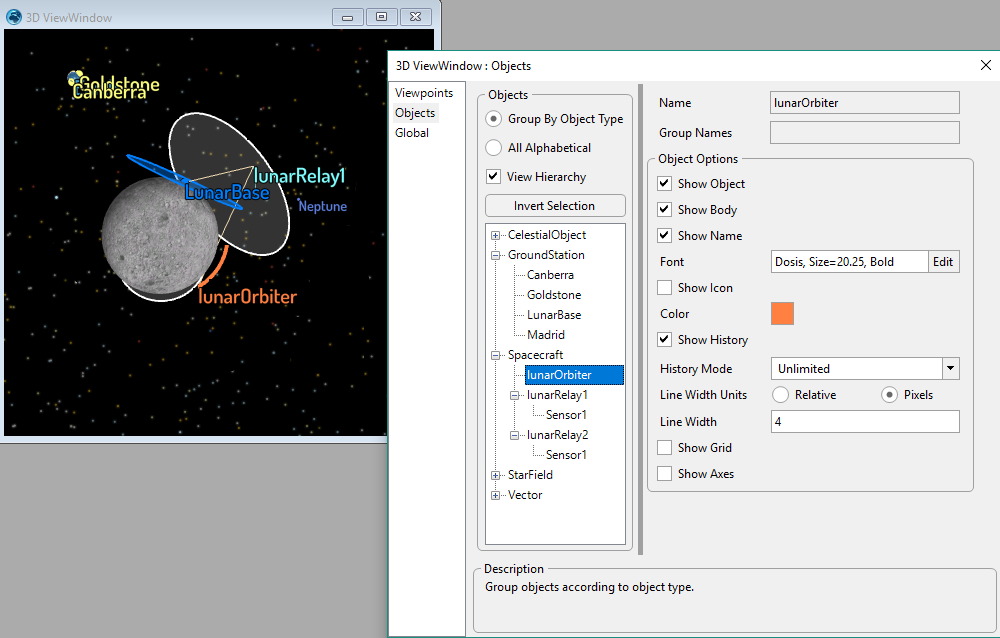
The Objects page lets you modify the display settings for any object in the view. You can choose to group objects by type, alphabetically, or you can define custom groupings for your objects through FreeFlyer script. The "View Hierarchy" button toggles whether child objects like Sensors and ProximityZones are displayed in a tree structure underneath their parent object.
You can select multiple objects or nodes in the tree structure to edit the display settings for many objects at once. Different display options will be shown depending on the type(s) of objects that are selected.

View Output Properties - Objects page
Custom Object Groups
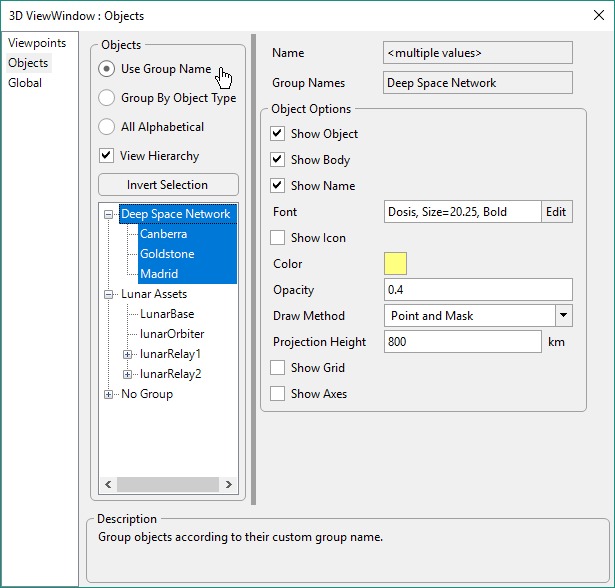
To define custom object groups, use the ViewWindow.AddGroup() and ViewWindow.AddObjectToGroup() methods, as shown below. The following image illustrates how these objects will then be grouped together in the View Output Properties menu.
// Organize objects into custom groupings ViewWindow1.AddGroup("Lunar Assets", 0); ViewWindow1.AddObjectToGroup("Lunar Assets", {lunarOrbiter.ObjectId, lunarRelay1.ObjectId, lunarRelay2.ObjectId, LunarBase.ObjectId});
ViewWindow1.AddGroup("Deep Space Network", 0); ViewWindow1.AddObjectToGroup("Deep Space Network", {Canberra.ObjectId, Goldstone.ObjectId, Madrid.ObjectId}); |

Custom Object Groupings
Global
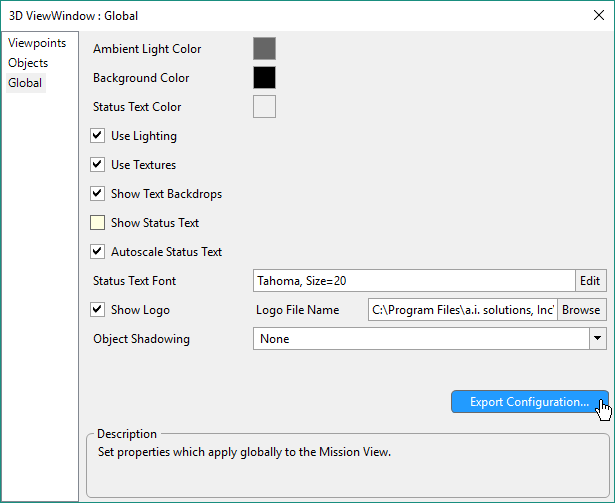
The Global page allows you to edit Mission View settings such as lighting, textures, and logo. You can also use the Export Configuration button to save the entire view configuration to an XML file (including the display settings for all objects and viewpoints). The section on Saving View Configurations discusses how to import a view configuration from this XML file format into a ViewWindow object.

View Output Properties - Global page
See Also