Installation on Windows
FreeFlyer for Windows is a 64-bit application which requires .NET 4.8 to be installed on Windows platforms in order to function correctly. The proper .NET installer is available alongside the FreeFlyer installer as listed below. Once installed, both the standalone integrated development environment version (FreeFlyer.exe) and the headless version (FF.exe) are available for use.
•FreeFlyer_X.X.X.X_Installer.msi oThis installer is designed to be used on systems that already have .NET 4.8 installed and installs FreeFlyer onto the system. oThis installer is capable of silent installation/uninstallation •NET481.exe oFreeFlyer requires .NET 4.8 to be installed on Windows platforms in order to function correctly. This installer installs .NET 4.8. oIf .NET 4.8 is not already installed on the system, run this installer before running FreeFlyer_X.X.X.X_Installer.msi. |
How to Install
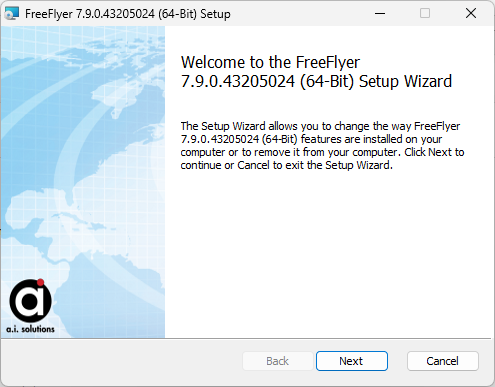
1.After obtaining the FreeFlyer installer from a.i. solutions, run the installer by double-clicking the appropriate installer file. At the welcome page of the installer, click Next.
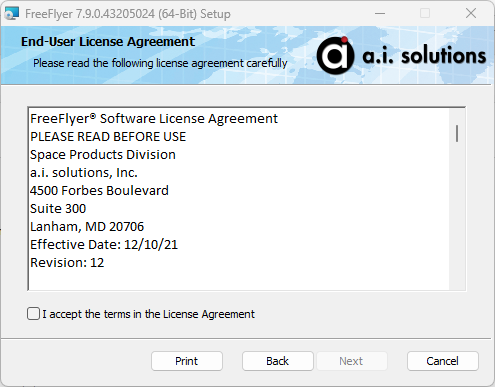
2.At the License Agreement page, review the license agreement, select the acceptance radio button, and click Next.
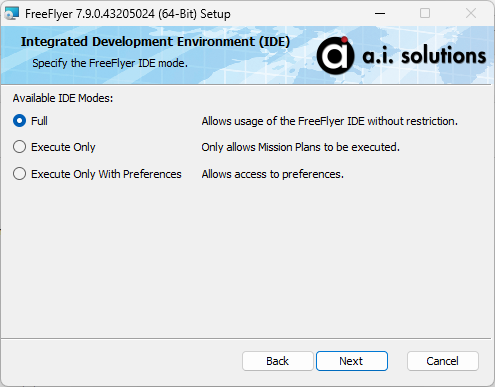
3.At the Integrated Development Environment (IDE) page, choose the desired IDE mode for the FreeFlyer installation and click Next.
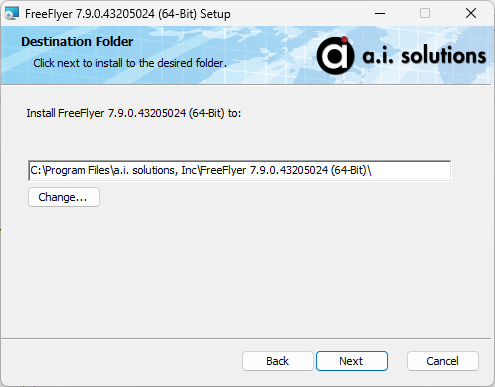
4.At the Choose Destination Location page, either accept the default FreeFlyer installation directory or specify another directory and click Next.
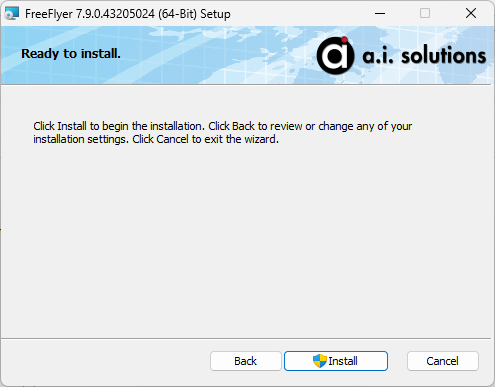
5.At the Ready to Install page, if desired go back to review the installation settings. When ready click Install to begin the installation. Note that administrator approval will be requested at this point.
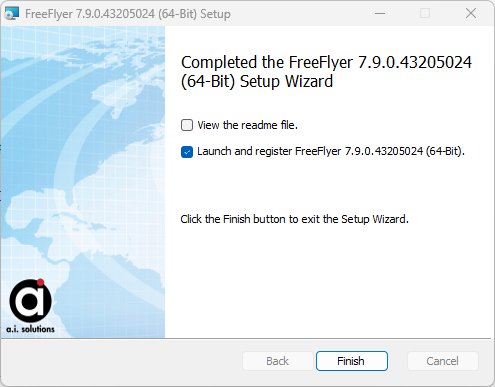
6.At the installation completion page, select whether you would like to view the readme and/or launch FreeFlyer immediately, then click Finish to exit the Setup Wizard.
This completes the installation process. For information on how to register your FreeFlyer installation, see the Windows sections of the Node-Locked Licensing, Dongle Licensing, or Network Licensing guides.
Note: msiexec can be used with the MSI installer of FreeFlyer to automate installation across multiple machines. A particularly helpful application for this is to use a call to msiexec within a batch file in combination with the --activate-license command line switch to both install and license FreeFlyer together.
Installation on Linux
FreeFlyer is available in headless mode (FF.exe) for 64-Bit Red Hat Enterprise Linux 8 and Red Hat Enterprise Linux 9. Once you've acquired the Linux FreeFlyer install package from a.i. solutions, perform the following steps to complete the installation of FreeFlyer on your Linux machine. Root privileges are required in order to complete the installation process.
How to Install
1.Open a terminal window.

2.Navigate to the directory that contains the FreeFlyer install package.
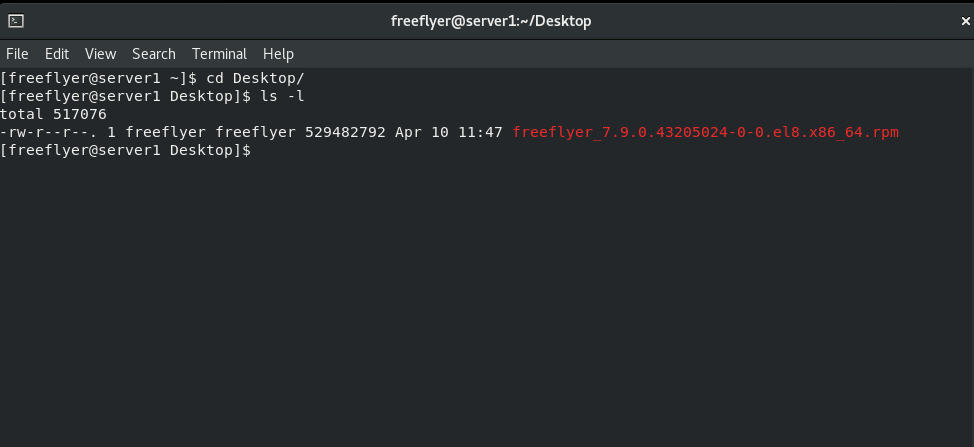
3.Enter the following commands into the terminal, making sure to update the RPM filename to that of the RPM you are installing.
$ sudo yum install ./freeflyer_7.10.0.40175965-0-0.el9.x86_64.rpm |
You could also auto-accept the software license agreement during this step by setting the FF_ACCEPT_SLA environment variable equal to true during the installation. This is particularly useful for automated installations.
$ sudo FF_ACCEPT_SLA=true yum install ./freeflyer_7.10.0.40175965-0-0.el9.x86_64.rpm |
4.When prompted, enter your administrative password, review the license agreement and use "y" to accept, and use "y" to confirm that you want to unpack the FreeFlyer package.
This completes the installation process. You can confirm that the installation was completed successfully by using the version command line switch:
$ ff -v |
If FreeFlyer was installed correctly, this will report the FreeFlyer version to the terminal.
Note: For a full listing of available command line switches use the help switch (-h).
This completes the installation process. For information on how to register your FreeFlyer installation, see the Linux sections of the Node-Locked Licensing or Network Licensing guides.
How to Uninstall
1.Open a terminal/shell window.
2. Enter the following commands into the terminal, making sure to update the FreeFlyer version. This example was generated for FreeFlyer 7.9.0.43205024.
$ sudo yum remove freeflyer_7.10.0.40175965 |
3.When prompted, enter your administrative password and use "y" to confirm that you want to remove the specified FreeFlyer install.
This completes the removal process. You can confirm that FreeFlyer was uninstalled successfully by navigating to the FreeFlyer folder in the share directory (/usr/share/a.i. solutions, Inc/<FREEFLYER VERSION>/) and verifying that the executable is no longer present.